

There is a certain kind of satisfaction that comes from looking at something in your home and knowing you made it yourself, especially when it looks like it belongs in a store you cannot actually afford. Scroll through any interior design page online and you will notice a pattern. The rooms that look the most expensive are rarely the ones with the most stuff in them. They are the ones where every piece feels chosen on purpose.
The good news is that this kind of look is far more achievable than most people assume. A lot of high end looking decor comes down to simple techniques, a bit of patience, and knowing which small details actually matter, rather than expensive materials or years of design training.
In this guide, you will find nine practical DIY projects that genuinely change how a room feels, along with the small tricks that separate a project that looks homemade from one that looks like it came from a boutique. Whether you are working with a spare afternoon or a full weekend, there is something here you can start today.
Why Handmade Decor Can Look So High End
A lot of what makes decor look expensive comes down to intention rather than cost. Interior designers rely on a handful of principles again and again, things like a limited color palette, quality over quantity, and leaving some visual breathing room instead of filling every inch of a shelf or wall.
A handmade piece, styled well and placed thoughtfully, often looks more curated than something bought off a shelf and dropped into a room without much thought. Mass produced decor tends to look generic precisely because it was made to appeal to everyone. A handmade piece has a bit of individual character built in, and that character is part of what reads as expensive.
Keep this in mind as you work through the list below. None of these projects require advanced skills. What actually makes the difference is patience during the small steps, like sanding, drying time, and finishing touches, that people tend to rush through.
1. Make a Statement Piece of Wall Art
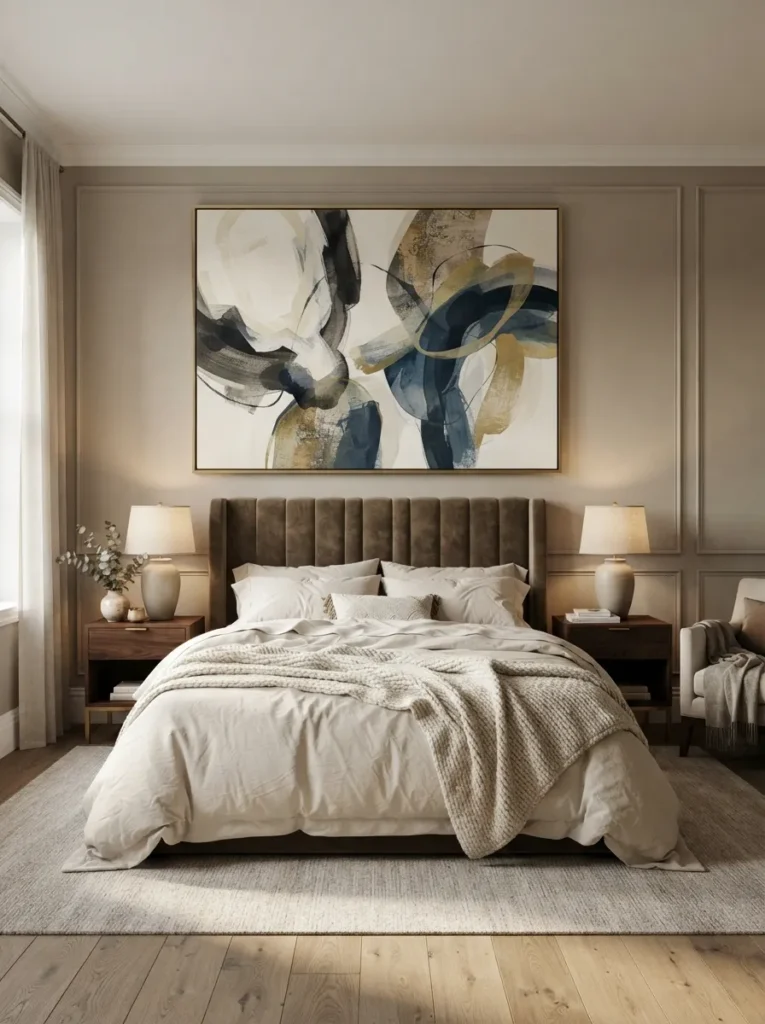
You do not need painting skills to create wall art that looks expensive. A large canvas with a few simple abstract shapes in a cohesive color palette can look striking once framed and hung properly. This is one of the most forgiving DIY projects on this list because abstract art does not need to look like anything specific to work.
Start with a canvas that is larger than you think you need. A big, simple piece almost always reads as more expensive than several small, busy ones. Pick two or three colors that already exist somewhere else in the room, such as a pillow color or a rug tone, so the finished piece feels connected to the space instead of random.
Tips for Making DIY Wall Art Look Professional
- Stick to two or three colors instead of many, since a limited palette looks intentional
- Use painter’s tape to create clean geometric lines if freehand brushstrokes feel intimidating
- Let each layer dry completely before adding the next to avoid muddy colors
- Frame the finished piece if the canvas edges look unfinished or uneven
2. Create a Custom Gallery Wall Frame Set
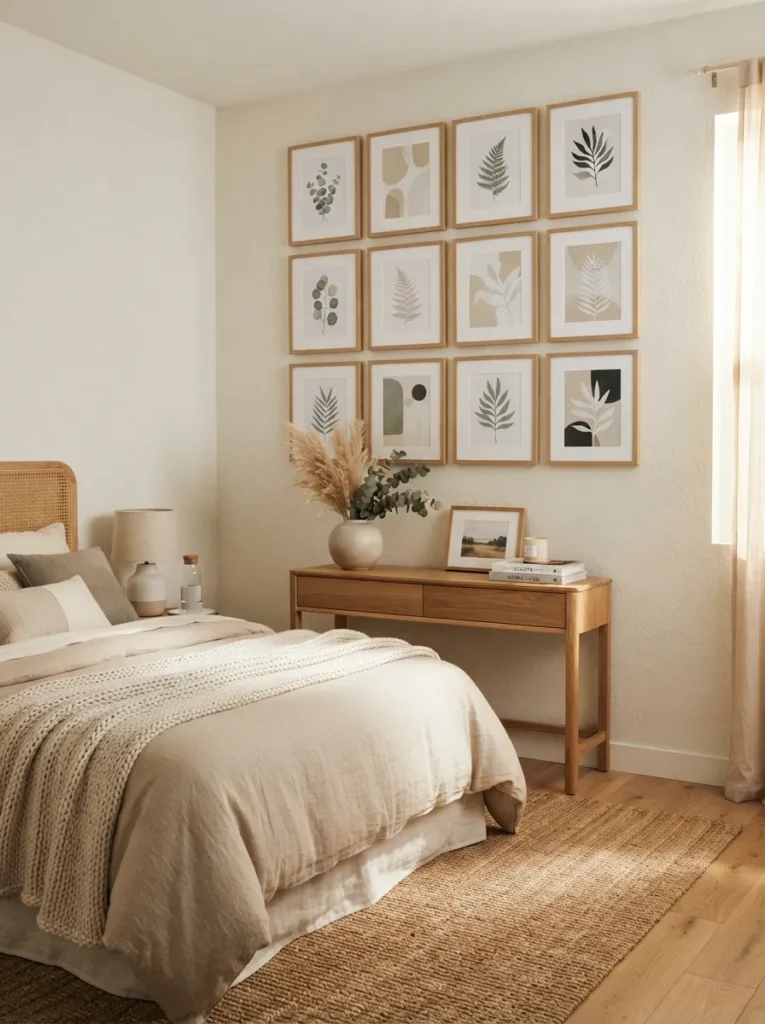
Buying matching frames individually gets expensive fast, and it often ends up looking a little too matched, almost like a display in a furniture store. Instead, collect a set of mismatched frames from a thrift store, a garage sale, or ones you already have sitting in a closet, and paint them all the same color.
This single step, painting a random assortment of frames one unified color, is one of the most effective tricks for creating a gallery wall that looks like it was professionally curated. The variety in frame shapes and sizes adds visual interest, while the matching color keeps everything from feeling chaotic.
When arranging the frames on the wall, lay them out on the floor first and adjust the spacing before hammering a single nail. Leave two to three inches between frames for a clean, gallery style look rather than crowding them together.
3. Build a Simple Floating Shelf
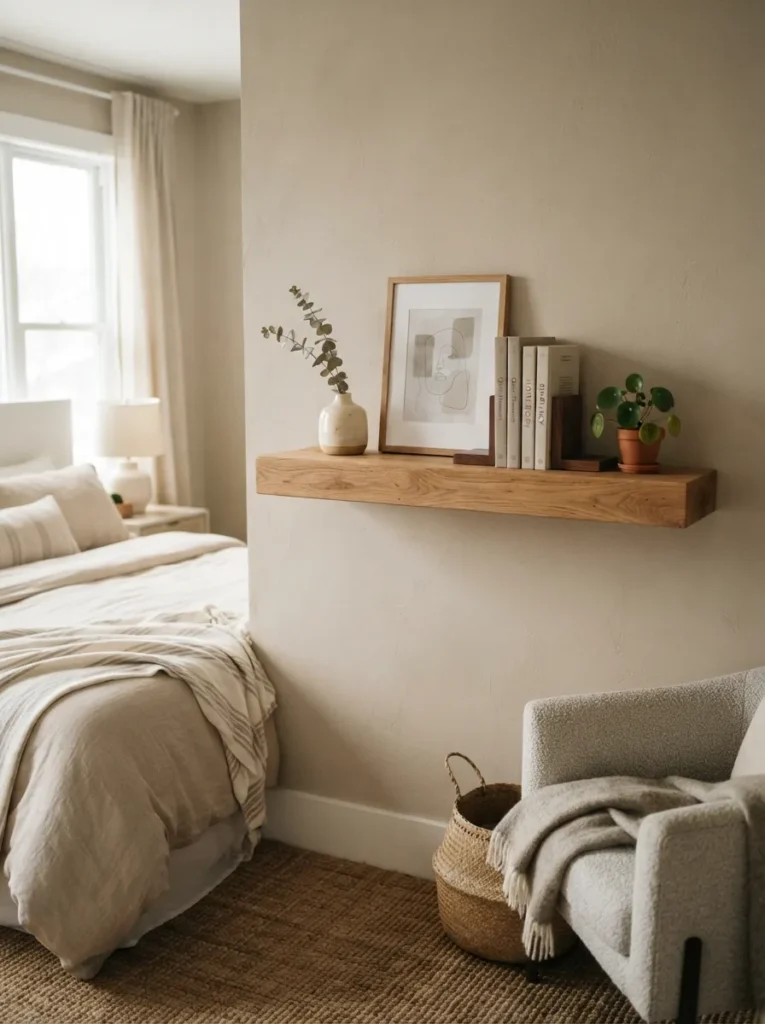
A basic wood plank, sanded and stained, mounted with hidden brackets creates a floating shelf that looks far more expensive than the materials actually cost. Floating shelves have become a staple in higher end home design because they look sleek and take up very little visual space compared to a bulky bracket shelf.
Most hardware stores will cut a wood plank to size for you if you do not have a saw at home, which makes this project accessible even without much equipment. Sand the edges smooth, apply a wood stain in a tone that matches your existing furniture, and mount it using a hidden shelf bracket kit, which usually costs less than fifteen dollars.
Style the finished shelf with a few books stacked at an angle, a small plant, and one decorative object. Avoid filling the entire shelf, since empty space is part of what makes it look designed rather than crowded.
4. Make Your Own Decorative Vases
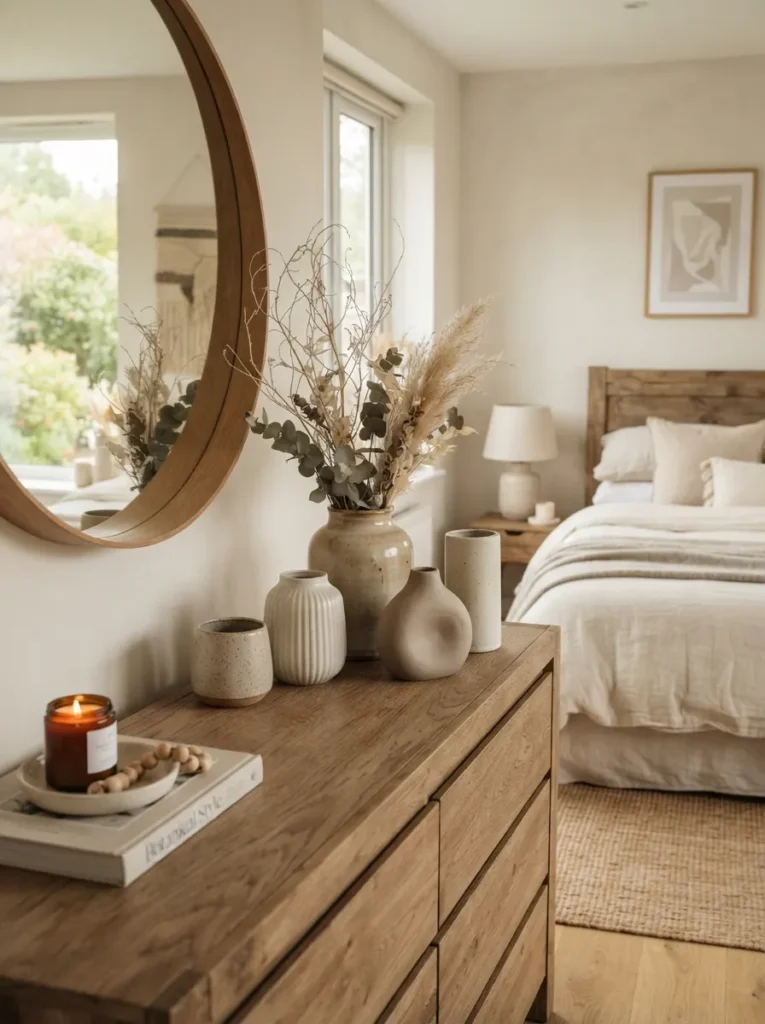
Old glass jars or bottles, cleaned and either painted or wrapped in twine, make surprisingly elegant vases once filled with a few stems of greenery. This project costs almost nothing since it reuses items you likely already have sitting in a recycling bin.
For a clean, ceramic looking finish, a coat of matte white or terracotta colored spray paint on a glass jar creates a vase that looks nearly identical to ones sold in home decor stores for far more than the cost of a can of spray paint. For a more textured, natural look, wrapping a jar tightly in jute rope, secured with a small dot of hot glue at the start and end, gives it an entirely different, earthy feel.
Common Mistakes to Avoid With This Project
- Skipping a primer coat before spray painting glass, which often leads to chipping
- Using too much glue when wrapping twine, which creates visible lumps under the rope
- Choosing a paint finish that clashes with the rest of the room’s color palette
5. Create a Custom Table Runner
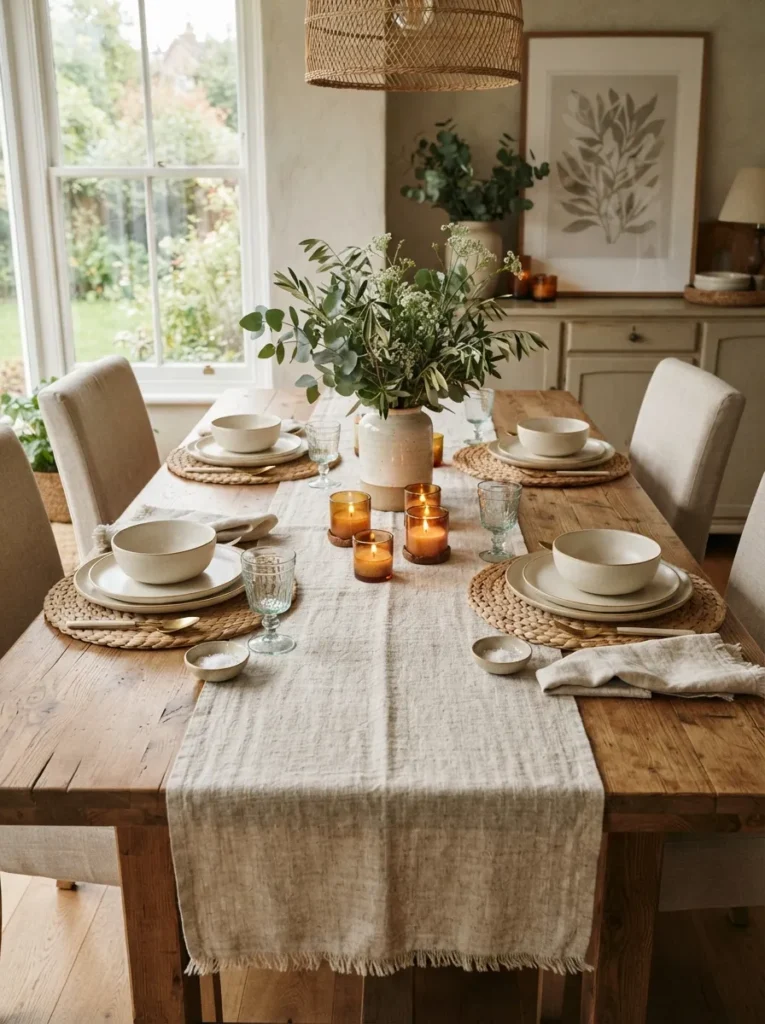
Sewing a simple linen table runner, or even hemming a length of fabric by hand, gives your dining table a custom, high end look for a fraction of what a store bought version costs. Linen in particular has a naturally elegant texture that photographs and looks beautiful even with minimal styling around it.
If sewing feels intimidating, fabric glue or a no sew hem tape can achieve nearly the same clean finish without needing a machine. Choose a neutral or muted tone that complements your existing dinnerware rather than competing with it, since the goal is a runner that enhances the table setting rather than becomes the main focus.
Measure your table carefully before cutting fabric, and leave roughly six to eight inches of overhang on each end for the most polished, proportional look.
6. Make a Braided or Woven Basket Liner
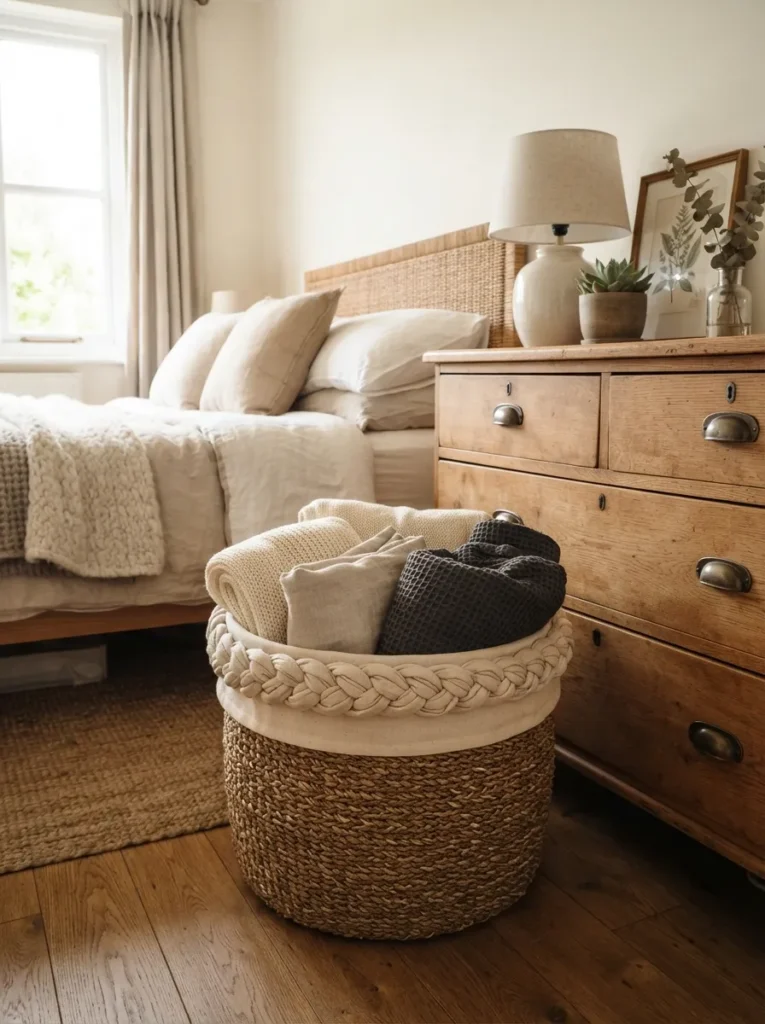
Adding a woven liner made from jute rope or fabric strips to a plain basket instantly upgrades its look, turning something plain into a piece that reads as intentional and well made. This is a particularly good project if you already own baskets that look a little tired or mismatched from years of use.
Braid three strips of fabric or rope together, then coil the braid into a circular base and secure it with strong fabric glue or a hot glue gun. Continue coiling upward along the inside walls of the basket until the liner reaches the desired height. Not only does this refresh the look of the basket, it also adds a layer of protection if you are storing anything delicate inside it.
7. Paint an Accent Piece of Furniture
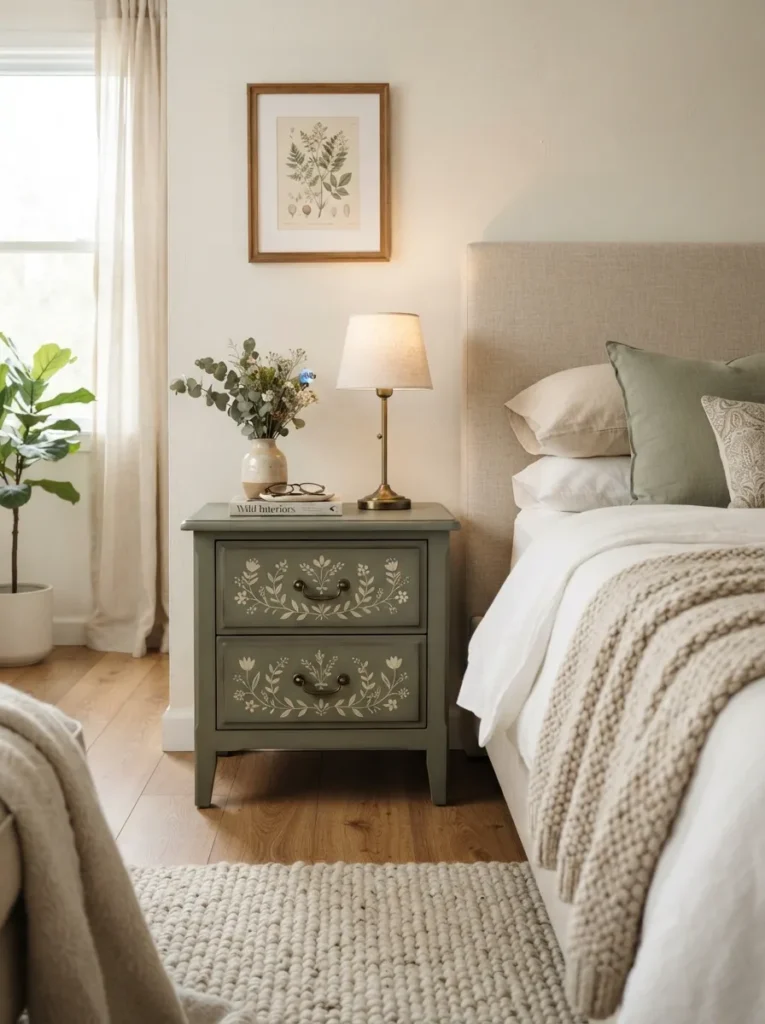
A full furniture set is expensive to replace, but repainting a single side table, chair, or small bookshelf gives a room a designer touch without needing to replace anything. This is one of the highest impact projects on this list relative to the time and cost involved.
Choose a piece that already has good bones, meaning solid construction and a shape you like, even if the current finish feels dated. A rich, saturated color like deep green, navy, or terracotta tends to look far more expensive than a plain white or beige repaint, since it adds personality rather than blending into the background.
A Few Things That Help This Project Look Professional
- Sand the surface lightly before painting for a smoother, more even finish
- Use two thin coats rather than one thick one to avoid drips and uneven texture
- Remove any hardware, like knobs or handles, before painting for cleaner edges
- Seal the final coat with a clear topcoat if the piece gets regular daily use
8. Build a Simple Macrame or Wall Hanging
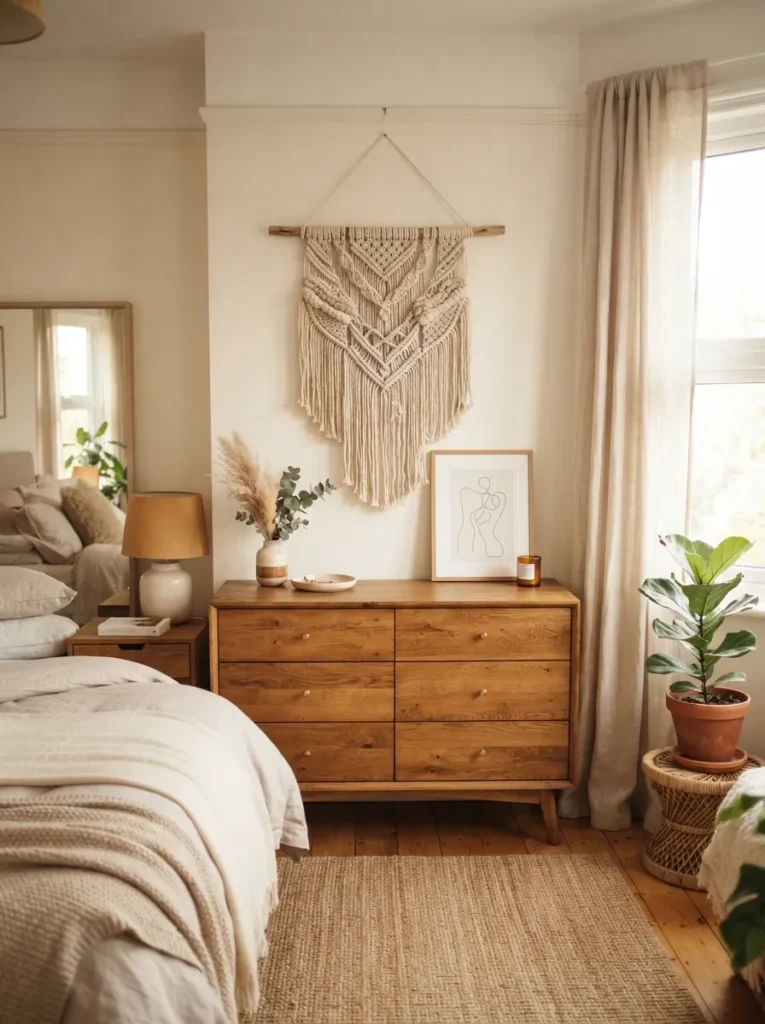
Macrame has a natural, textured look that reads as high end, and basic patterns are far easier to learn than most people expect. A single wall hanging above a bed, couch, or empty stretch of wall adds a handmade, boutique feeling to the room that is hard to replicate with store bought decor.
Beginner macrame typically only requires two or three basic knots, and most of these can be learned from a single short video tutorial. Start with a small project, like a simple plant hanger, before attempting a large wall piece, since the skills build quickly once you understand the core knots.
Natural, undyed cotton cord tends to look the most expensive and versatile, since it blends easily with almost any existing color scheme in a room.
9. Create Custom Candles in Reused Containers
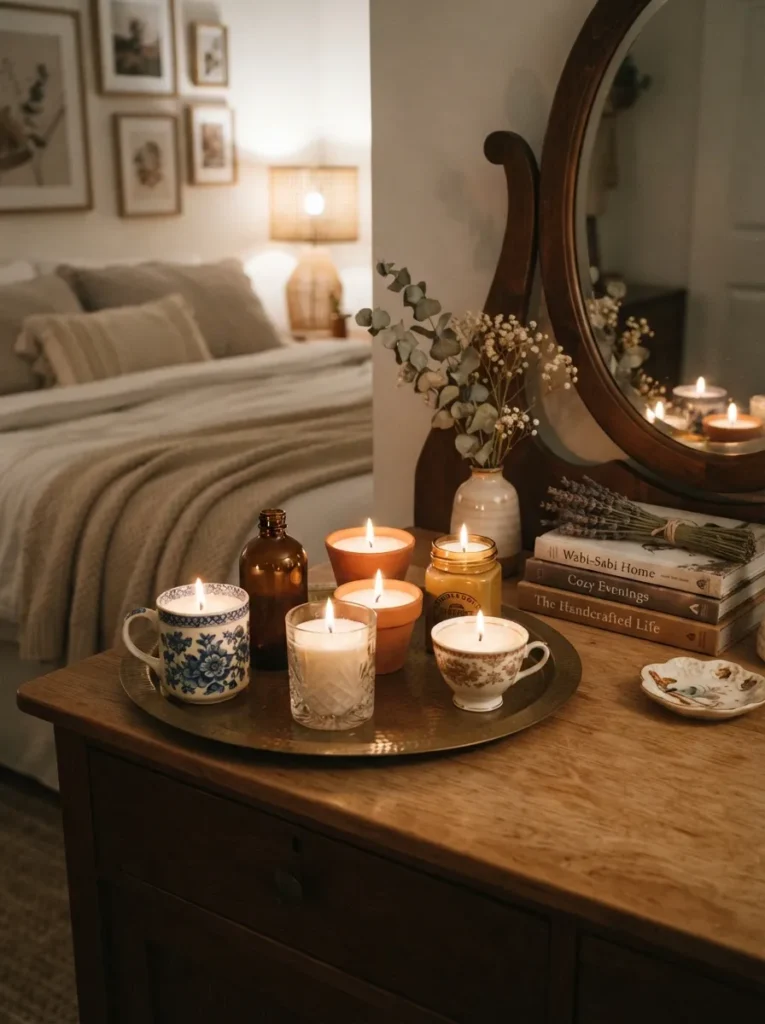
Melting down leftover candle wax and pouring it into a clean glass jar or vintage container creates a candle that looks like it came from a specialty shop, all while using materials that would otherwise be thrown away. This project is also a practical way to use up the last bit of wax from candles that are nearly finished but still have usable wax left in them.
Save empty glass jars, especially ones with interesting shapes, from candles, jams, or sauces. Melt down leftover wax pieces in a double boiler, add a few drops of essential oil for scent if desired, and pour the melted wax into your cleaned container with a new wick centered in the middle.
Letting the candle cool slowly and undisturbed helps prevent cracks or an uneven surface on top, which is one of the most common issues beginners run into with this project.
Frequently Asked Questions
Do I need expensive tools to start these DIY decor projects?
No. Most of the projects on this list can be completed with basic household items like paint, glue, scissors, and fabric. A few, like the floating shelf, benefit from a saw, but most hardware stores will cut wood to size for free or for a small fee if you do not own one.
How long does it usually take to complete one of these projects?
This depends on the project, but most can be finished in a single afternoon. Projects involving paint, like the accent furniture piece or wall art, may need extra time for drying between coats, so plan for that when scheduling your weekend.
What is the easiest project on this list for a complete beginner?
The decorative vase and the fresh fruit style projects using items you already own tend to be the easiest starting points. They require very little skill, cost almost nothing, and still make a noticeable visual difference in a room.
How do I make sure my DIY decor matches the rest of my home?
Stick to colors that already appear somewhere else in the room, whether that is a pillow, a rug, or a piece of furniture. Choosing from your existing palette rather than a brand new color is one of the simplest ways to keep a handmade piece from looking out of place.
Can these projects be done on a very tight budget?
Yes. Several of these ideas, like the decorative vases, basket liners, and repurposed candles, use materials you likely already have at home. Even the projects that require new supplies, like paint or fabric, tend to cost far less than buying a comparable finished piece from a store.
What is the biggest mistake people make with DIY home decor?
Rushing the finishing steps is the most common issue. Skipping sanding before painting, not letting layers dry fully, or gluing pieces together too loosely are what usually separate a project that looks handmade from one that looks polished and intentional.
Do these projects work in small apartments or rental homes?
Most of them do. Floating shelves and wall hangings may require checking your lease for any restrictions on wall mounting, but the majority of these projects, including the vases, table runner, and painted accent pieces, involve no permanent changes and work well in rental spaces.
Final Thoughts
Making your home look expensive does not require a big budget or professional skills. A little time, a few simple materials, and some attention to detail go a long way toward creating pieces that look far more polished than they actually cost. The projects that make the biggest difference are rarely the most complicated ones. They are the ones done with a bit of patience and a clear sense of what you want the finished piece to look like.
Pick one or two projects from this list to start with, and give yourself permission to take your time on the small details, since that is usually where the real difference shows. Once you finish your first project and see how much it changes the room, do not be surprised if you find yourself looking around your home for the next thing to make.